Web proofs from javascript
Web Proofs
On top of access to vlayer JSON-RPC proving API, vlayer client provides functionality to generate and prove Web Proofs.
vlayer browser extension
vlayer provides a browser extension which can be launched (once installed in user's browser) from vlayer SDK and used to generate a Web Proof of a 3rd party website.
vlayer extension is compatible with Chrome and Brave browsers.
We start by instantiating vlayer client.
import { createVlayerClient } from '@vlayer/sdk'

const vlayer = createVlayerClient()
Next, we can define how the vlayer extension should generate the Web Proof. We do this in a declarative way, by specifying the steps the extension should guide the user through.
import {
createWebProofRequest,
startPage,
expectUrl,
notarize,
} from '@vlayer/sdk/web_proof'
const webProofRequest = createWebProofRequest({
steps: [
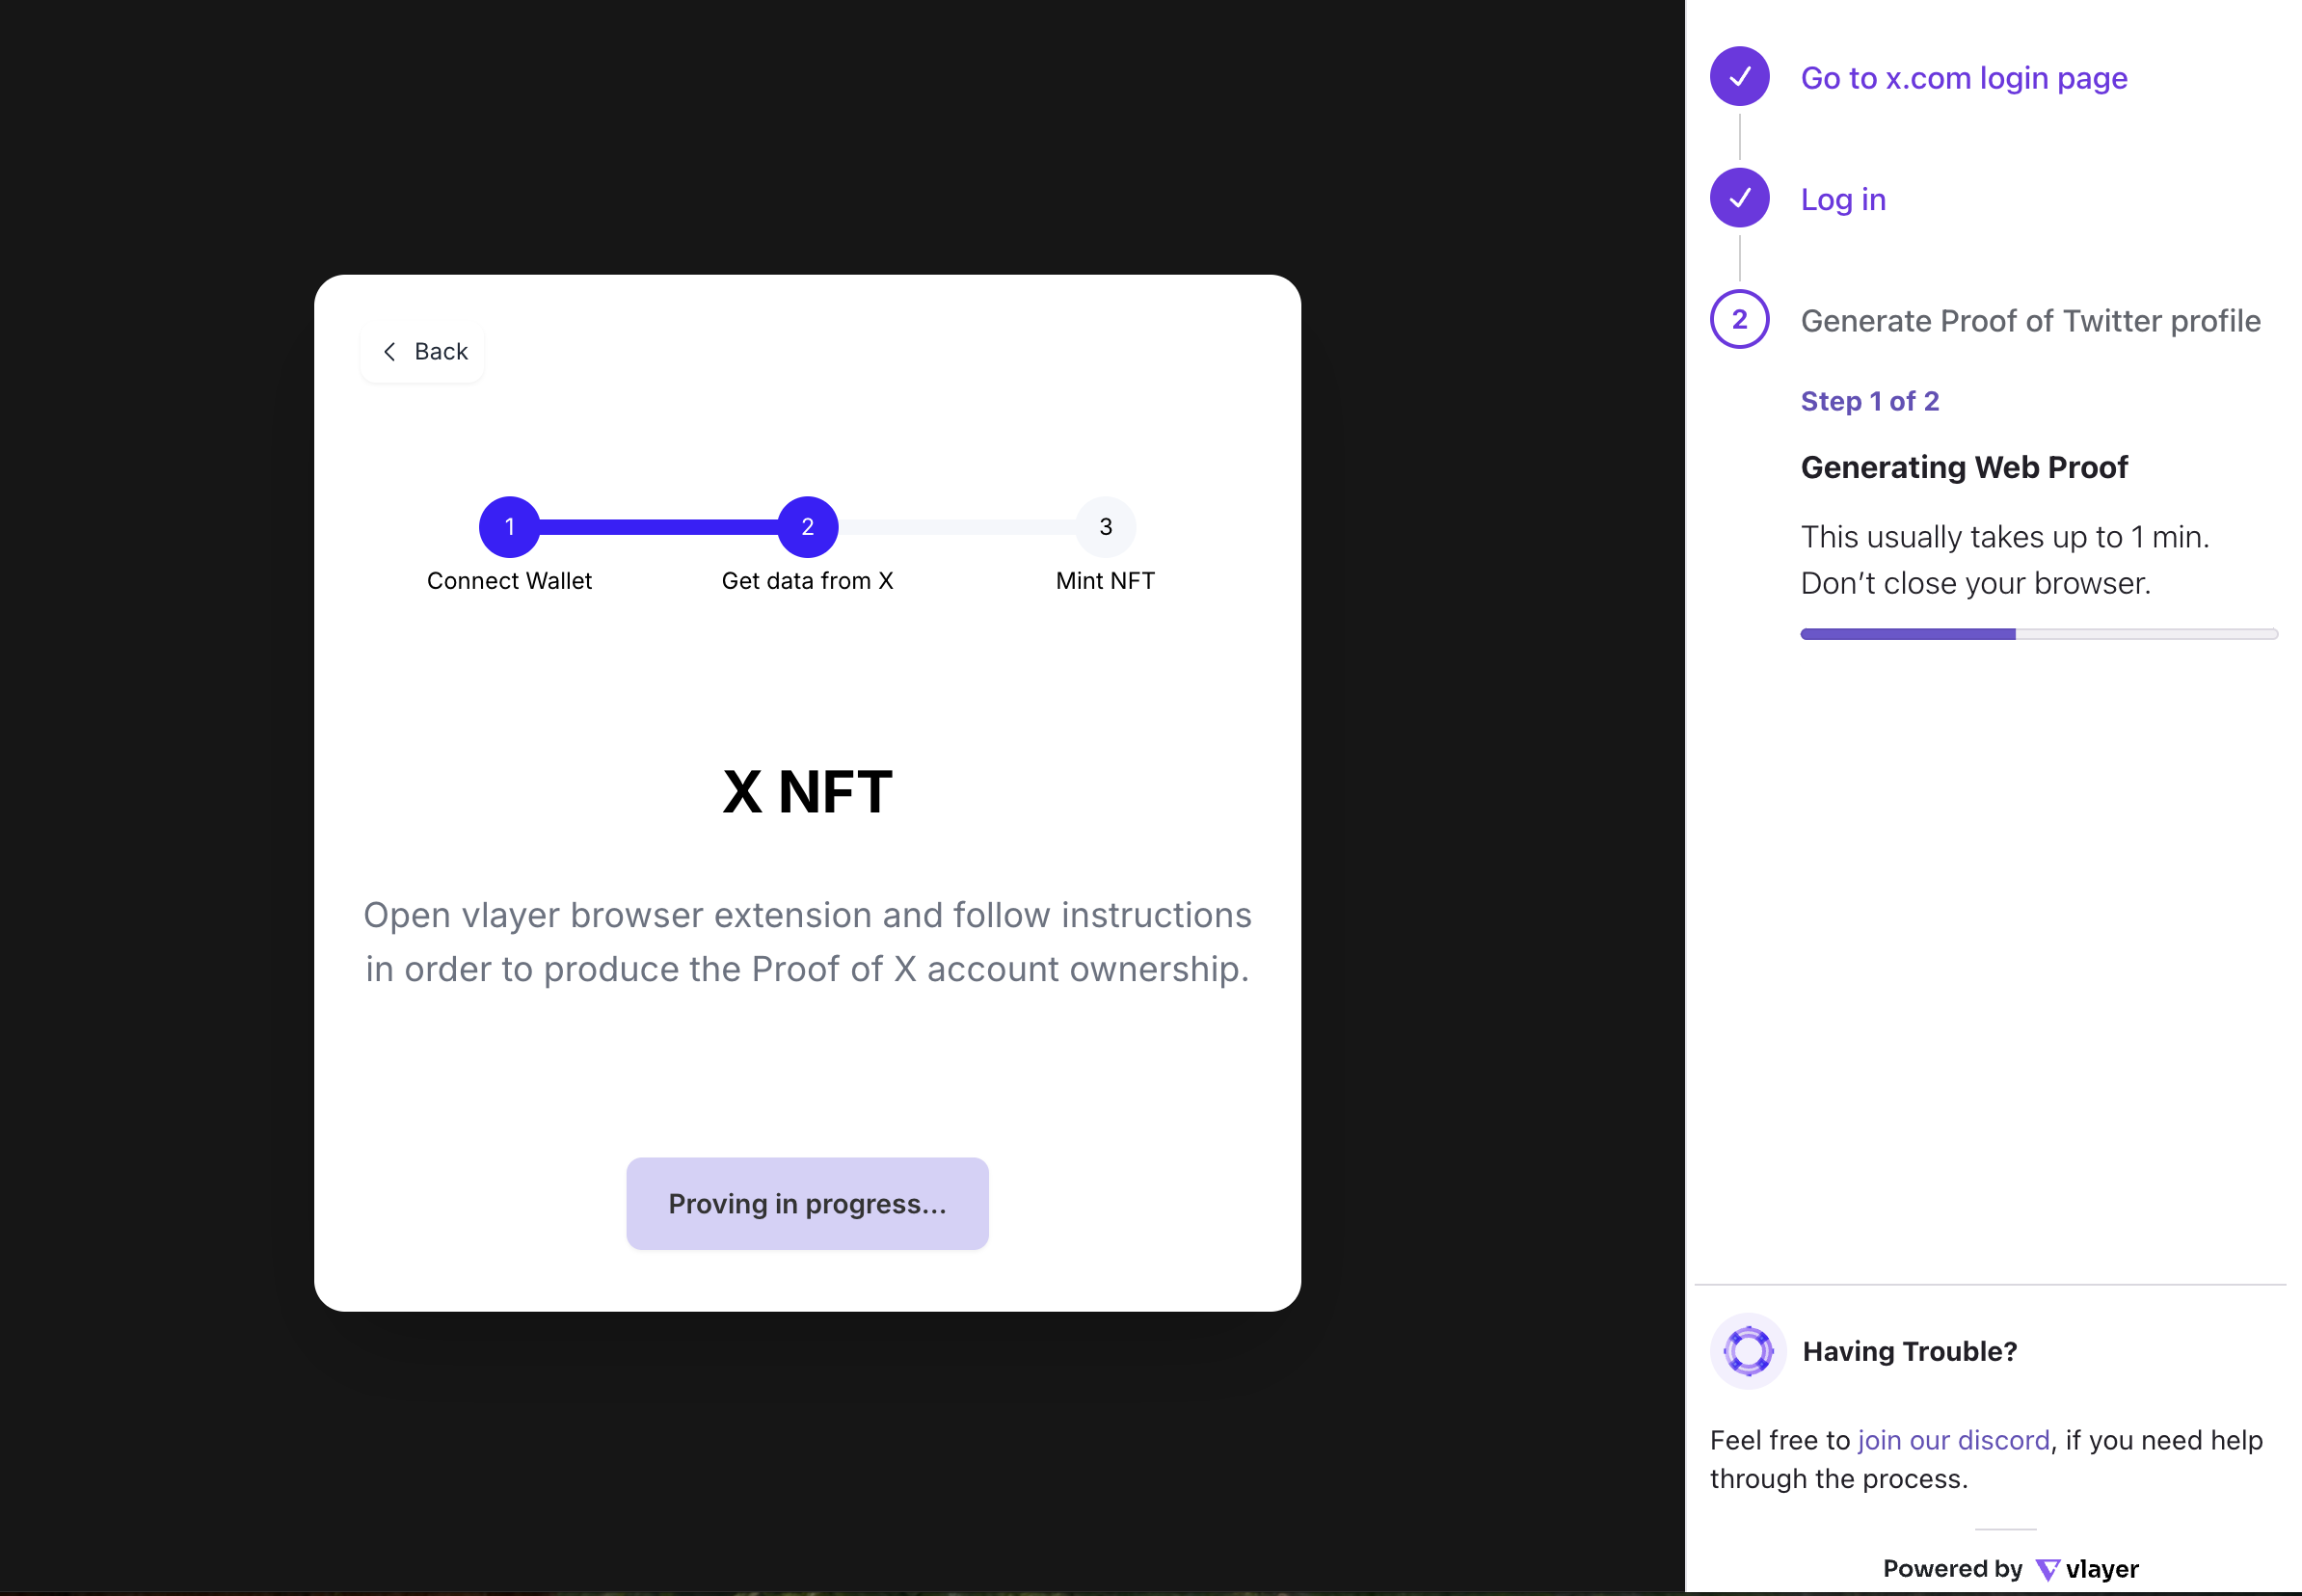
startPage('https://x.com/i/flow/login', 'Go to x.com login page'),
expectUrl('https://x.com/home', 'Log in'),
notarize('https://api.x.com/1.1/account/settings.json', 'GET', 'Generate Proof of Twitter profile'),
],
})
The above snippet defines a Web Proof, which is generated by the following steps:
startPage- redirects the user's browser tohttps://x.com/i/flow/login.expectUrl- ensures that the user is logged in and visitinghttps://x.com/homeURL. The argument passed here is a URL Pattern against which the user browser URL is checked.notarize- prompts the user to generate a Web Proof, i.e. to notarize an HTTPGETrequest sent tohttps://api.x.com/1.1/account/settings.jsonURL. This step works by first capturing the request made by the user's browser to the given URL (which is a URL Pattern against which browser request URLs are matched) and, once captured, the request is sent again, this time notarized.
Each step also accepts a human-readable message which the user will see. We can also optionally pass a link to custom logo to display in the extension.
Once we have a definition of how a Web Proof should be generated we can request it.
import { proverAbi } from './proverAbi'
import { sepolia } from 'viem/chains'

const hash = await vlayer.proveWeb({
    address: '0x70997970c51812dc3a010c7d01b50e0d17dc79c8',
    proverAbi,
    functionName: 'main',
    args: [webProofRequest, '0xd8dA6BF26964aF9D7eEd9e03E53415D37aA96045'],
    chainId: sepolia,
})
The above snippet:
- Opens vlayer browser extension and guides the user through the steps defined above. The Web Proof is generated using vlayer default Notary server and WebSocket proxy (see section WebSocket proxy below for more details).
- Once the Web Proof is successfully generated, it is submitted to Prover contract:
- with address
0x70997970c51812dc3a010c7d01b50e0d17dc79c8, - whose interface is defined by
proverAbi, - calling
functionNamefunction of the contract, - passing the specified
args- the generated Web Proof will be passed as first argument in this example, - executing the method call on prover contract within the context of
chainId.
- with address
To learn more details about the Web Proof feature, please see the Web Proof section.
Low-level API
While the vlayer client method proveWeb described above provides a convenient interface to both the vlayer browser extension and the prover contract, we also provide methods that can access each of them separately.
We can configure a Web Proof provider which uses vlayer browser extension and enables configuring custom Notary server and custom WebSocket proxy (see section WebSocket proxy below for more details).
import { createExtensionWebProofProvider } from '@vlayer/sdk/web_proof'

const webProofProvider = createExtensionWebProofProvider({
    notaryUrl: 'https://...',
    wsProxyUrl: 'wss://...',
})
Both notaryUrl and wsProxyUrl have default values:
notaryUrl:https://test-notary.vlayer.xyzwsProxyUrl:wss://test-wsproxy.vlayer.xyz
Because of these defaults, the provider can be initialized without any additional configuration as follows:
const webProofProvider = createExtensionWebProofProvider();
vlayer hosts a public instance of the TLSN notary server for development, experimentation, and demonstration purposes. Notary server can be also self-hosted using Docker.
In the future, vlayer is planning to provide additional Web Proof provider implementations, which can be e.g. ran server-side and don't require vlayer browser extension for the purpose of Web Proof generation.
The Web Proof provider exposes a low-level API to directly define proverCallCommitment (commitment to use the generated Web Proof only with the specified prover contract call details, so it's not possible to submit it in a different context) and to explicitly generate the Web Proof by calling requestWebProof.
import {
  startPage,
  expectUrl,
  notarize,
} from '@vlayer/sdk/web_proof'

// all args required by prover contract function except webProof itself
const commitmentArgs = ['0xd8dA6BF26964aF9D7eEd9e03E53415D37aA96045']

const proverCallCommitment = {
  address: '0x70997970c51812dc3a010c7d01b50e0d17dc79c8',
  functionName: 'main',
  commitmentArgs,
  chainId: sepolia,
  proverAbi,
}

webProofProvider.requestWebProof({
  proverCallCommitment,
  steps: [
    startPage('https://x.com/i/flow/login', 'Go to x.com login page'),
    expectUrl('https://x.com/home', 'Log in'),
    notarize('https://api.x.com/1.1/account/settings.json', 'GET', 'Generate Proof of Twitter profile', []),
  ],
});

webProofProvider.addEventListeners(
  ExtensionMessageType.ProofDone,
  ({ payload: { presentationJson } }) => {
    const webProof = JSON.stringify({ presentationJson });
    prove(webProof);
  },
);
Once we have the Web Proof available we can directly call vlayer client prove method, adding the Web Proof to previously created proverCallCommitment.
import { sepolia } from 'viem/chains'
import { proverAbi } from './proverAbi'

function prove(webProof) {
  const hash = await vlayer.prove({
      ...proverCallCommitment,
      args: [webProof, ...commitmentArgs],
  })
}
Redaction
The vlayer browser extension supports fine-grained redaction of specific components of HTTPS requests and responses when generating Web Proofs. You can configure redaction using the notarize step.
By default, the transcript is not redacted at all and redaction of each HTTP request/response part needs to be configured to enable redaction.
Header Redaction
You can redact specific headers from both the request and the response. To do so, use request.headers, request.headers_except, response.headers, or response.headers_except with a header name (e.g. Authorization, Cookie). Using headers or headers_except allows you to control which HTTP headers are redacted: either by explicitly specifying the headers to remove, or by redacting all except a given subset.
Redact specific headers
notarize("https://api.example.com/profile", "GET", "Proof", [
  {
    request: {
      headers: ["Authorization", "Cookie"], // redact only these headers
    },
  },
])
Keep only selected headers
notarize("https://api.example.com/profile", "GET", "Proof", [
  {
    request: {
      headers_except: ["User-Agent"], // keep only User-Agent
    },
  },
])
Redact all headers
notarize("https://api.example.com/profile", "GET", "Proof", [
  {
    response: {
      headers_except: [], // redact everything
    },
  },
])
URL Redaction
You can redact specific query parameters from a URL. Use url_query to redact only selected parameters, or url_query_except to redact all parameters except those you specify.
Redact specific queries
notarize("https://api.example.com/profile", "GET", "Proof", [
  {
    request: {
      url_query: ["id"], // redact only "id" query parameter
    },
  },
])
Keep only selected queries
notarize("https://api.example.com/profile", "GET", "Proof", [
  {
    request: {
      url_query_except: ["id"], // keep only the "id" query parameter
    },
  },
])
Keep in mind though that because of the safety reasons (described here), only either the full, unredacted URL or a URL starting with a specified prefix can be verified.
WebSocket proxy
The WebSocket proxy is required in the Web Proofs setup to allow the vlayer extension to access the low-level TLS connection of the HTTPS request for which we are generating a Web Proof (browsers do not provide this access by default). The default WebSocket proxy, wss://test-wsproxy.vlayer.xyz, used in our SDK and hosted by vlayer, supports a limited number of domains.
Currently, the allowed domains are:
x.comandapi.x.comswapi.dev
If you'd like to notarize a request for a different domain, you can run your own proxy server. To do this locally run websockify using Docker:
docker run -p 3003:80 jwnmulder/websockify 80 api.x.com:443
Replace api.x.com with the domain you'd like to use. Then, configure your Web Proof provider to use your local WebSocket proxy (running on port 3003):
import { createExtensionWebProofProvider } from '@vlayer/sdk/web_proof'

const webProofProvider = createExtensionWebProofProvider({
  wsProxyUrl: "ws://localhost:3003",
})
Now the notarized HTTPS request will be routed through your local proxy server.